


The Utility Bar is a very simple tool that can be added to the bottom of Salesforce Lightning pages to highlight useful tools and links. And it only takes two minutes to set up.
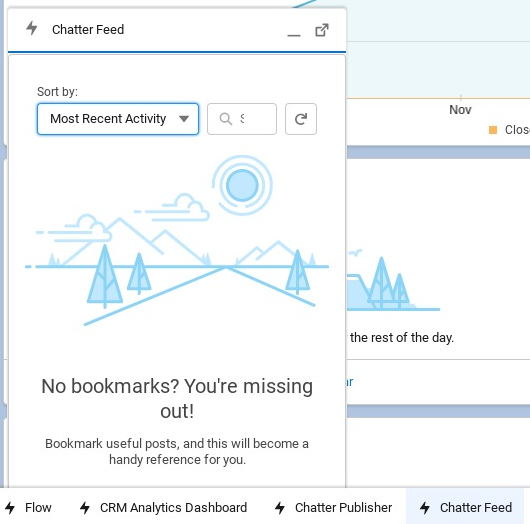
The Utility Bar can be quickly configured to show a menu (Utility Bar) at the bottom of Salesforce Lightning pages – note that the Utility Bar is for Desktop only, the Utility Bar doesn’t appear on the Salesforce mobile app. The Utility Bar can show standard items, such as Chatter Feed, Notes, and Quip Docs (see image below), or alternatively, you can create your own links to Salesforce Pages or to external sites. It’s a great tool to implement.
How To Add The Utility Bar to Salesforce
To set up the Utility Bar follows these simple steps:
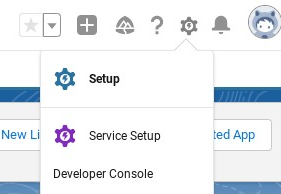
- Go to Set Up
- Search of ‘App Manager’

- Click ‘Edit’ from the dropdown next to the App name you want to add the Utility Bar to. Alternatively, create a new App.

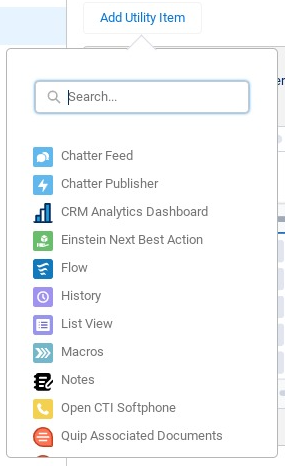
- Finally, click the Utility Items tab on the left-hand menu and add the utilities your users would like.
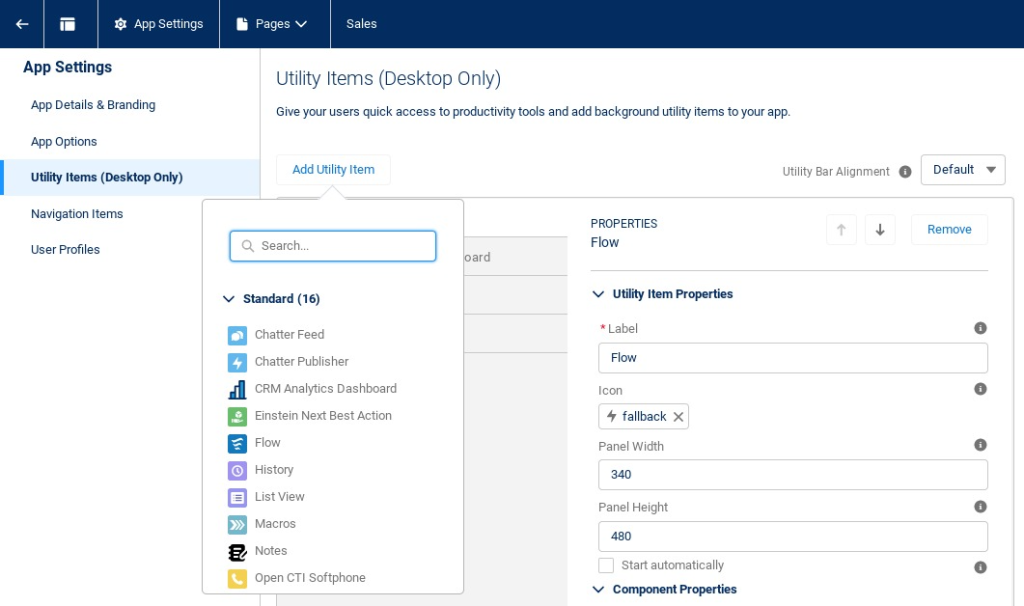
What I love is that you can choose the width and height of the panel, what labels you want to show, and what icons you’d prefer. You can add up to 100 components but that’s way too much. I would recommend adding up to five components, otherwise, it can get a bit busy and messy.
You can also add a Flow to the Utility Bar this is proving more and more popular as Flows become used more extensively across businesses.
Give the Utility Bar a go today. It’s easy to create and users love its simplicity.
Leave a Reply