


When you open up Salesforce you will see a list of tabs along the top.

But you may want to move some tabs around so you can have the tabs you use most often all together. To do this simply drag and drop the tabs on the Nav Bar – see below.


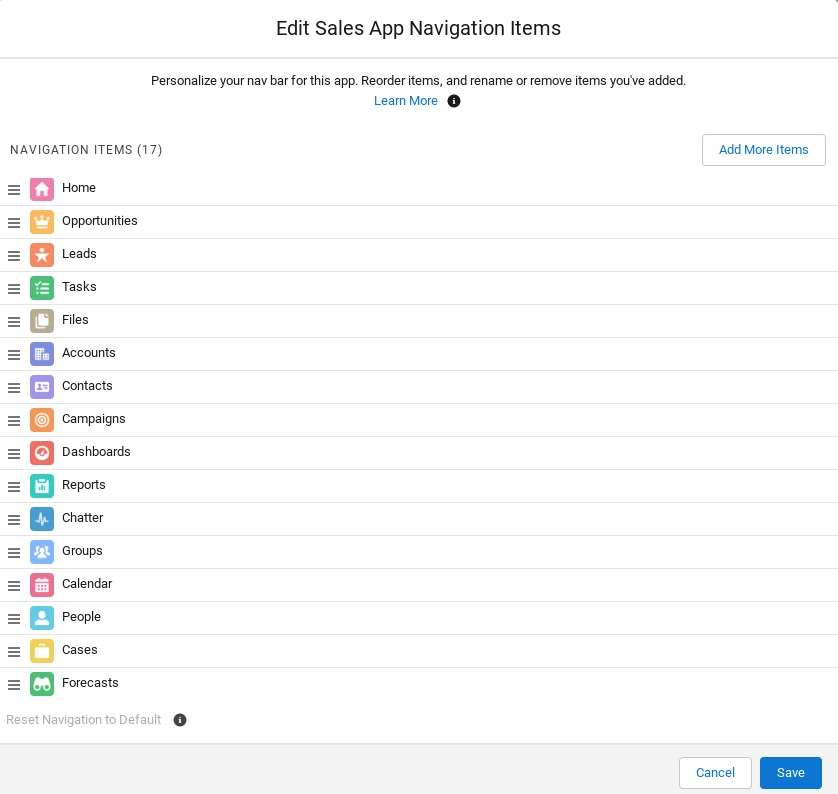
Here you can move, add and delete tabs. Save to make the changes.
To add new items click on the ‘Add More Items’ button – who would have guessed that?

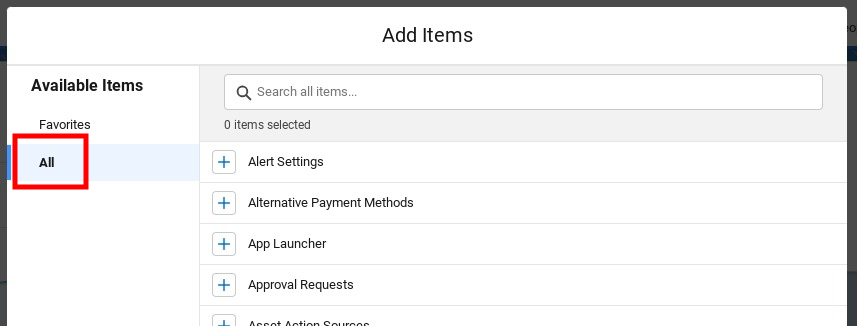
This opens the Add Items screen. Be sure to click on All before searching for any particular tab. You may well find no results if you’ve Favorites selected on the left-hand side. Click on the plus sign next to the tabs you want to add. Then finally, click on the Add Items button at the bottom.
Once the new tabs have been selected you can move them into the exact order you want and then Save them.
All Salesforce users have the ability to add, remove, or move items from their own Nav Bar. But saying that, the app’s standard tabs can’t be removed, only moved about.
Have fun personalising your Nav Bar in exactly the way that works for you.
Leave a Reply